Before you can deploy universes using YugabyteDB Anywhere, you must create a provider configuration.
Create an Amazon Web Services (AWS) provider configuration if your target cloud is AWS, and you can provide full SSH permissions to YugabyteDB Anywhere to orchestrate universe management.
{{< tip title="Use on-premises provider" >}}
If you can't provide YugabyteDB Anywhere with cloud permissions or SSH access to cloud VMs (due to security policies or other restrictions), you can still deploy to AWS using an on-premises provider configuration. Refer to [On-premises provider configurations](../on-premises/).
{{< /tip >}}
When deploying a universe, YugabyteDB Anywhere uses the provider configuration settings to do the following:
- Create VMs on AWS using the following:
- the service account
- specified regions and availability zones (this can be a subset of those specified in the provider configuration)
- a Linux image
- Provision those VMs with YugabyteDB software
## Prerequisites
- An AWS Service Account with sufficient privileges. This account must have permissions to create VMs, and access to the VPC and security groups described below. Required input: Access Key ID and Secret Access Key for the AWS Service Account.
- An AWS VPC for each region. Required input: for each region, a VPC ID.
- AWS Security Groups must exist to allow network connectivity so that YugabyteDB Anywhere can create AWS VMs when deploying a universe. Required input: for each region, a Security Group ID.
For more information on setting up an AWS service account and security groups, refer to [Cloud permissions to deploy nodes](../../prepare/cloud-permissions/cloud-permissions-nodes-aws/).
## Configure AWS
Navigate to **Integrations > Infrastructure > Amazon Web Services** to see a list of all currently configured AWS providers.
### Create a provider
To create an AWS provider:
1. Click **Create Config** to open the **Create AWS Provider Configuration** page.
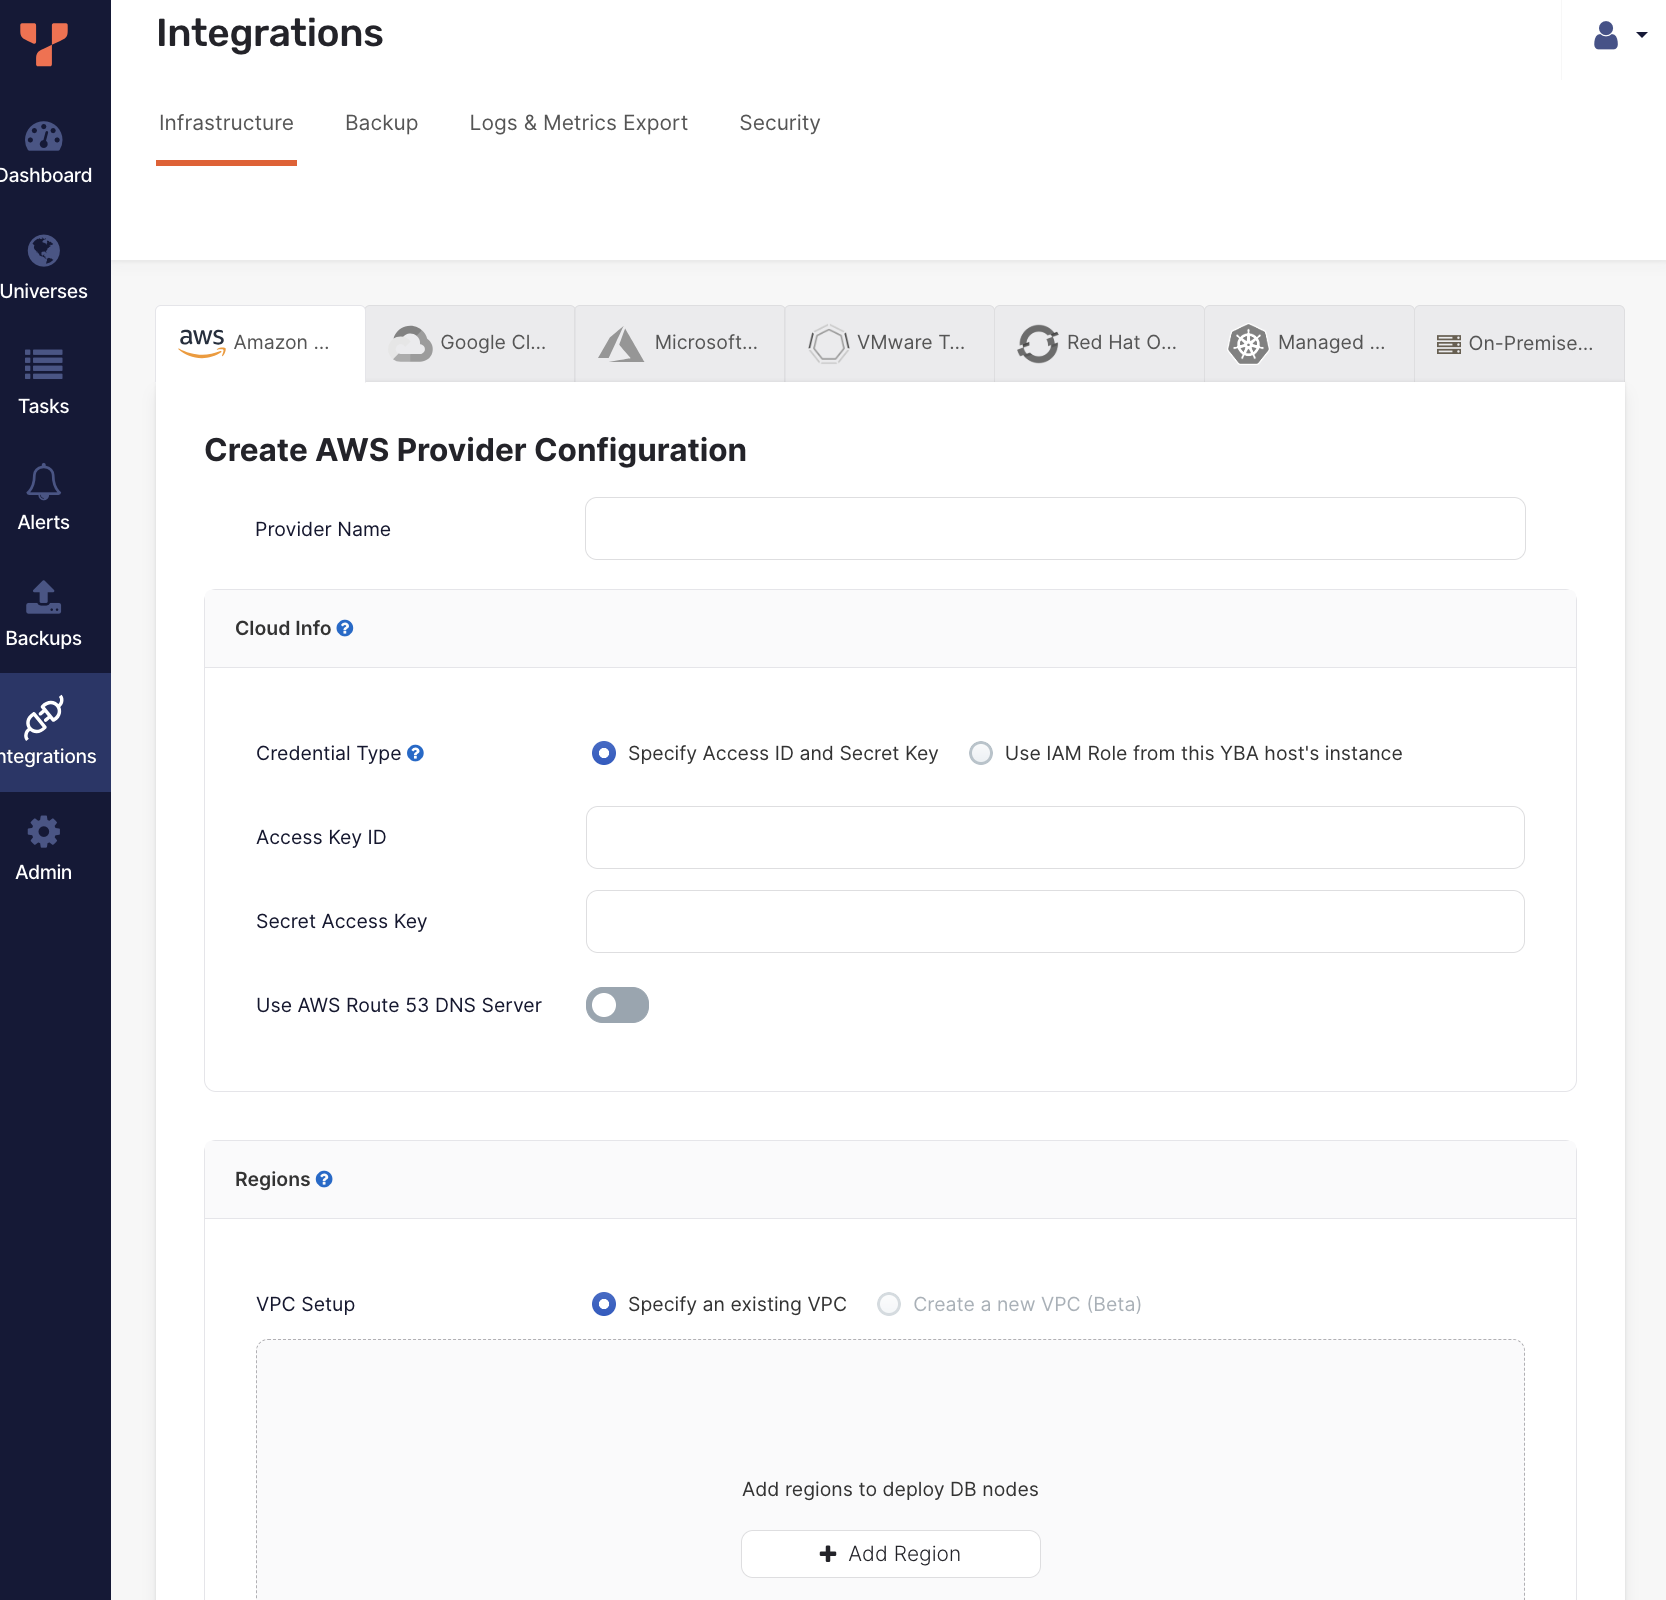
1. Enter the provider details. Refer to [Provider settings](#provider-settings).
1. Click **Validate and Save Configuration** when you are done and wait for the configuration to validate and complete.
If you want to save your progress, you can skip validation by choosing the **Ignore and save provider configuration anyway** option, which saves the provider configuration without validating. Note that you may not be able to create universes using an incomplete or unvalidated provider.
The create provider process includes configuring a network, subnetworks in all available regions, firewall rules, VPC peering for network connectivity, and a custom SSH key pair for YugabyteDB Anywhere-to-YugabyteDB connectivity.
### View and edit providers
To view a provider, select it in the list of AWS Configs to display the **Overview**.
To edit the provider, select **Config Details**, make changes, and click **Apply Changes**. For more information, refer to [Provider settings](#provider-settings). Note that for YugabyteDB Anywhere v2.20.1 and later, if the provider has been used to create a universe, you can only edit a subset of fields, including the following:
- Provider Name
- AWS credentials (Access Key ID and Secret Access Key)
- Regions - You can add regions and zones to an in-use provider. Note that you cannot edit existing region details, delete a region if any of the region's zones are in use, or delete zones that are in use.
- Linux version catalog
To view the universes created using the provider, select **Universes**.
To delete the provider, click **Actions** and choose **Delete Configuration**. You can only delete providers that are not in use by a universe.
## Provider settings
### Provider Name
Enter a Provider name. The Provider name is an internal tag used for organizing provider configurations.
### Cloud Info
**Credential Type**. YugabyteDB Anywhere requires the ability to create VMs in AWS. To do this, you can do one of the following:
- **Specify Access ID and Secret Key** - Create an AWS Service Account with the required permissions (refer to [Cloud permissions](../../prepare/cloud-permissions/cloud-permissions-nodes-aws/)), and provide your AWS Access Key ID and Secret Access Key.
- **Use IAM Role from this YBA host's instance** - Provision the YugabyteDB Anywhere VM instance with an IAM role that has sufficient permissions by attaching an [IAM role](https://docs.aws.amazon.com/AWSEC2/latest/UserGuide/iam-roles-for-amazon-ec2.html) to the YugabyteDB Anywhere VM in the **EC2** tab. This option is only available if YugabyteDB Anywhere is installed on AWS.
**Use AWS Route 53 DNS Server**. Choose whether to use the cloud DNS Server / load balancer for universes deployed using this provider. Generally, SQL clients should prefer to use [smart client drivers](/stable/develop/drivers-orms/smart-drivers/) to connect to cluster nodes, rather than load balancers. However, in some cases (for example, if no smart driver is available in the language), you may use a DNS Server or load-balancer. The DNS Server acts as a load-balancer that routes clients to various nodes in the database universe. YugabyteDB Anywhere integrates with [Amazon Route53](https://docs.aws.amazon.com/Route53/latest/DeveloperGuide/Welcome.html) to provide managed Canonical Name (CNAME) entries for your YugabyteDB universes, and automatically updates the DNS entry as nodes get created, removed, or undergo maintenance.
### Regions
You can customize your network, including the virtual network, as follows:
- **VPC Setup**. Choose the VPC setup to use:
- **Specify an existing VPC**. Select this option to use a VPC that you have created in AWS.
- **Create a new VPC** {{}}. Select this option to create a new VPC using YugabyteDB Anywhere. This option is not recommended for production use cases. If you use this feature and there are any classless inter-domain routing (CIDR) conflicts, the operation can fail silently. This would include, for example, doing the following:
- Configuring more than one AWS cloud provider with different CIDR block prefixes.
- Creating a new VPC with a CIDR block that overlaps with any of the existing subnets.
To use this option, contact {{% support-platform %}}.
- Click **Add Region** to add a region to the configuration.
For information on configuring your regions, see [Add regions](#add-regions).
### Linux version catalog
Specify the machine images to be used to install on nodes of universes created using this provider.
To add machine images recommended and provisioned by YugabyteDB Anywhere, select the **Include Linux versions that are chosen and managed by YugabyteDB Anywhere in the catalog** option, and choose the architectures.
To add your own machine images to the catalog:
1. Click **Add Linux Version**.
1. Provide a name for the Linux version. You can see this name when creating universes using this provider.
1. Choose a CPU architecture.
1. Enter the Amazon Machine Image (AMI) ID to use for each [provider region](#regions).
1. Provide the SSH user and port to use to access the machine image OS. Leave this empty to use the [default SSH user](#ssh-key-pairs).
1. To configure instances so that the [Instance Metadata Service](https://docs.aws.amazon.com/AWSEC2/latest/UserGuide/configuring-instance-metadata-service.html) _requires_ IMDSv2, select the **Use IMDSv2** option (recommended). If **Use IMDSv2** is not selected, the service accepts both IMDSv1 and IMDSv2 requests.
1. Click **Add Linux Version**.
To edit custom Linux versions, remove Linux versions, and set a version as the default to use when creating universes, click **...** for the version you want to modify.
### SSH Key Pairs
To be able to provision Amazon Elastic Compute Cloud (EC2) instances with YugabyteDB, YugabyteDB Anywhere requires SSH access.
Enter the SSH user and port to use by default for machine images. You can override these values for custom Linux versions that you add to the Linux Version Catalog.
You can manage SSH key pairs in the following ways:
- Enable YugabyteDB Anywhere to create and manage [Key Pairs](https://docs.aws.amazon.com/AWSEC2/latest/UserGuide/ec2-key-pairs.html). In this mode, YugabyteDB Anywhere creates SSH Key Pairs across all the regions you choose to set up and stores the relevant private key part of these locally in order to SSH into future EC2 instances.
- Use your own existing Key Pairs. To do this, provide the name of the Key Pair, as well as the private key content, and the corresponding SSH user. This information must be the same across all the regions you provision.
If you use YugabyteDB Anywhere to manage SSH Key Pairs for you and you deploy multiple YugabyteDB Anywhere instances across your environment, then the AWS provider name should be unique for each instance of YugabyteDB Anywhere integrating with a given AWS account.
If you are using a YugabyteDB Anywhere-managed AMI and plan to use the `us-gov-east-1` and `us-gov-west-1` regions, you must set the SSH user to `centos` as these regions use CentOS 7 (as opposed to the default Alma 8 used for other regions). If you don't set the SSH user accordingly, universe deployment to these regions will fail.
### Advanced
You can customize the Network Time Protocol server, as follows:
- Select **Use AWS's NTP server** to enable cluster nodes to connect to the AWS internal time servers. For more information, consult the AWS documentation such as [Keeping time with Amazon time sync service](https://aws.amazon.com/blogs/aws/keeping-time-with-amazon-time-sync-service/).
- Select **Specify Custom NTP Server(s)** to provide your own NTP servers and allow the cluster nodes to connect to those NTP servers.
- Select **Assume NTP server configured in machine image** to prevent YugabyteDB Anywhere from performing any NTP configuration on the cluster nodes. For data consistency, you will be responsible for manually configuring NTP.
{{< warning title="Important" >}}
Use this option with caution. Time synchronization is critical to database data consistency; failure to run NTP may cause data loss.
{{< /warning >}}
#### Configure ClockBound (optional)
{{}}[ClockBound](https://github.com/aws/clock-bound) improves clock accuracy by several orders of magnitude and significantly reduces read-restart errors in YSQL. To enable ClockBound for universes created using your provider, after you have created the provider, set the provider runtime configuration flag `yb.provider.configure_clockbound_cloud_provisioning` for the provider to `true`. Refer to [Manage runtime configuration settings](../../administer-yugabyte-platform/manage-runtime-config/).
When enabled, ClockBound is automatically configured during node provisioning, and the universe creation task sets the [time_source](../../../reference/configuration/yb-master/#time-source) flag to `clockbound`.
ClockBound is supported on AWS and GCP. (Azure and Kubernetes deployments are not supported.)
### Add regions
For deployment, you can select the regions where you wish to deploy.
#### Specify an existing VPC
If you choose to use VPCs that you have configured, you are responsible for having preconfigured networking connectivity. For single-region deployments, this might just be a matter of region or VPC local Security Groups. Across regions, however, the setup can get quite complex. It is recommended that you use the [VPC peering](https://docs.aws.amazon.com/vpc/latest/peering/working-with-vpc-peering.html) feature of [Amazon Virtual Private Cloud (Amazon VPC)](https://docs.aws.amazon.com/vpc/latest/userguide/what-is-amazon-vpc.html) to set up private IP connectivity between nodes located across regions, as follows:
- VPC peering connections must be established in an N x N matrix, such that every VPC in every region you configure must be peered to every other VPC in every other region.
- Routing table entries in every regional VPC should route traffic to every other VPC CIDR block across the PeeringConnection to that respective VPC. This must match the Subnets that you provided during the configuration step.
- Security groups in each VPC can be hardened by only opening up the relevant ports to the CIDR blocks of the VPCs from which you are expecting traffic.
- If you deploy YugabyteDB Anywhere in a different VPC than the ones in which you intend to deploy YugabyteDB nodes, then its own VPC must also be part of this cross-region VPC mesh, as well as setting up routing table entries in the source VPC (YugabyteDB Anywhere) and allowing one further CIDR block (or public IP) ingress rule on the security groups for the YugabyteDB nodes (to allow traffic from YugabyteDB Anywhere or its VPC).
- When a public IP address is not enabled on a universe, a network address translation (NAT) gateway or device is required. You must configure the NAT gateway before creating the VPC that you add to the YugabyteDB Anywhere UI. For more information, see [NAT](https://docs.aws.amazon.com/vpc/latest/userguide/vpc-nat.html) and [Creating a VPC with public and private subnets](https://docs.aws.amazon.com/AmazonECS/latest/developerguide/create-public-private-vpc.html) in the AWS documentation.
To configure a region using your own custom VPCs, click **Add Region** and do the following:
1. Select the **Region**.
1. Specify the **VPC ID** of the VPC to use for the region.
1. Specify the **Security Group ID** to use for the region. This is attached to all YugabyteDB nodes and must allow traffic from all other YugabyteDB nodes, even across regions, if you deploy across multiple regions.
For each availability zone in which you wish to be able to deploy in the region, do the following:
1. Click **Add Zone**.
1. Select the zone.
1. Enter the Subnet ID to use for the zone. This is required to ensure that YugabyteDB Anywhere can deploy nodes in the correct network isolation that you desire in your environment.
## Marketplace acceptance
If you did not provide your own custom AMI IDs, before you can proceed to creating a universe, verify that you can actually spin up EC2 instances with the default AMIs in YugabyteDB Anywhere.
While logged into your AWS account, do the following:
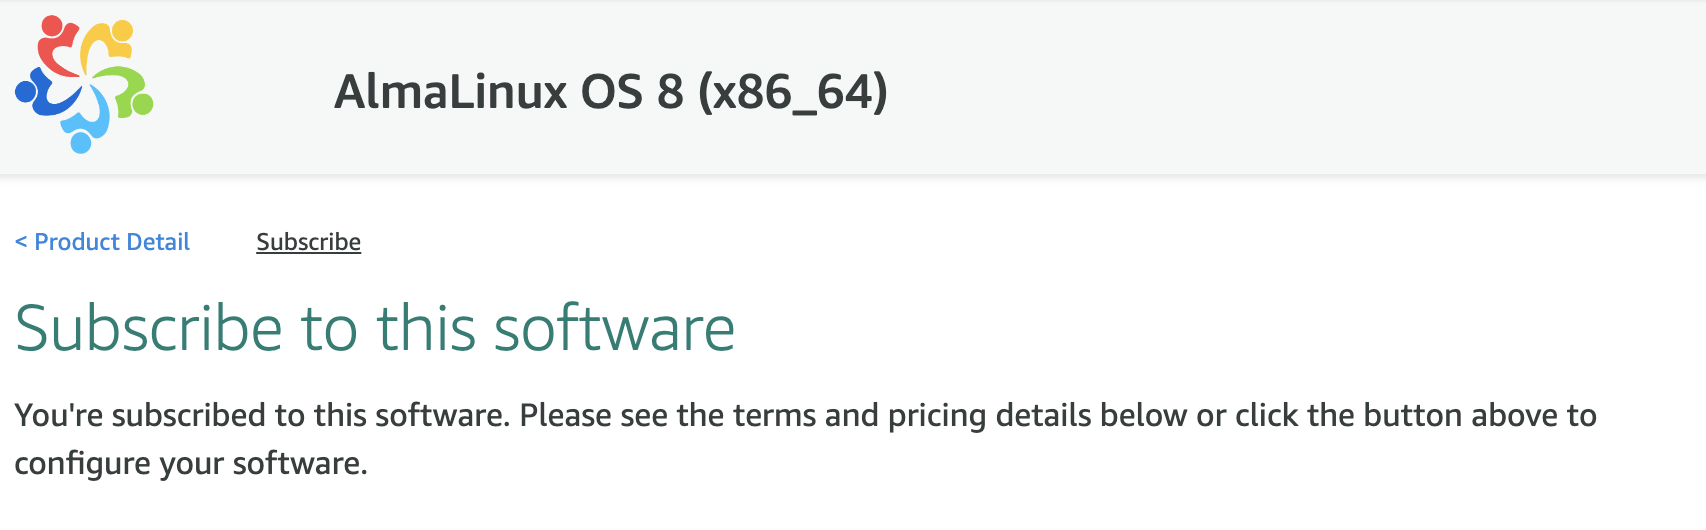
- For the default x86 AMI, go to [AlmaLinux OS 8 (x86_64) product](https://aws.amazon.com/marketplace/pp/prodview-mku4y3g4sjrye) and click **Continue to Subscribe**.
- For the default aarch64 AMI, go to [AlmaLinux OS 8 (arm64) product](https://aws.amazon.com/marketplace/pp/prodview-zgsymdwitnxmm) and click **Continue to Subscribe**.
If you are not already subscribed and have not accepted the **Terms and Conditions**, then you should see the following message:

If that is the case, click **Accept Terms** and wait for the page to switch to a successful state. After the operation completes, or if you previously subscribed and accepted the terms, you should see a message similar to the following: